Installation
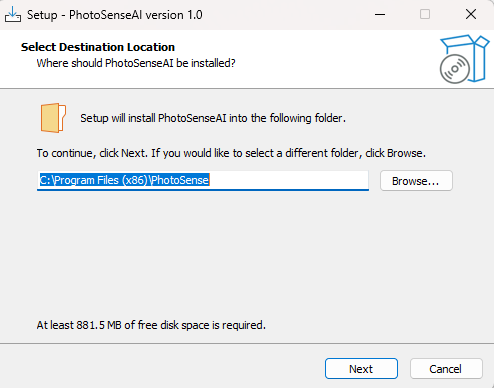
After downloading PhotoSenseAI, it can be installed by double-clicking on the file to start the regular Windows installation wizard.
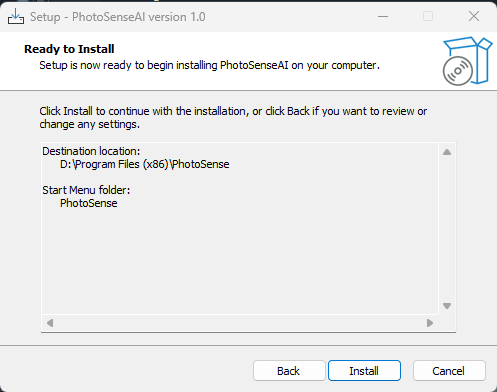
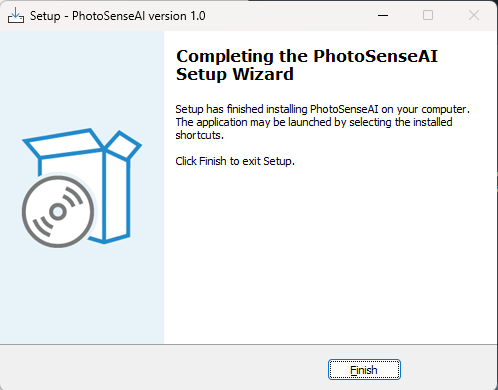
After following the steps in the installation wizard, PhotoSenseAI will be installed on your disk for local use.
Note
When you start PhotoSenseAI for the first time, it may take some time. Please be patient.
|
|
|
Now start the application by opening the Start menu and searching for PhotoSenseAI. Click on the application icon that appears under the installed programs. Alternatively, you can find it in the PhotoSense folder within the Start menu. If you created a desktop shortcut during installation, you can also double-click the shortcut to launch the application. Please note that the first time you start PhotoSenseAI, the loading process may take a few minutes. This is because the application needs to initialize necessary components and load required resources. Future launches will be faster.
Uninstalling
Removing the installation of PhotoSenseAI can be done using the normal windows procedure.
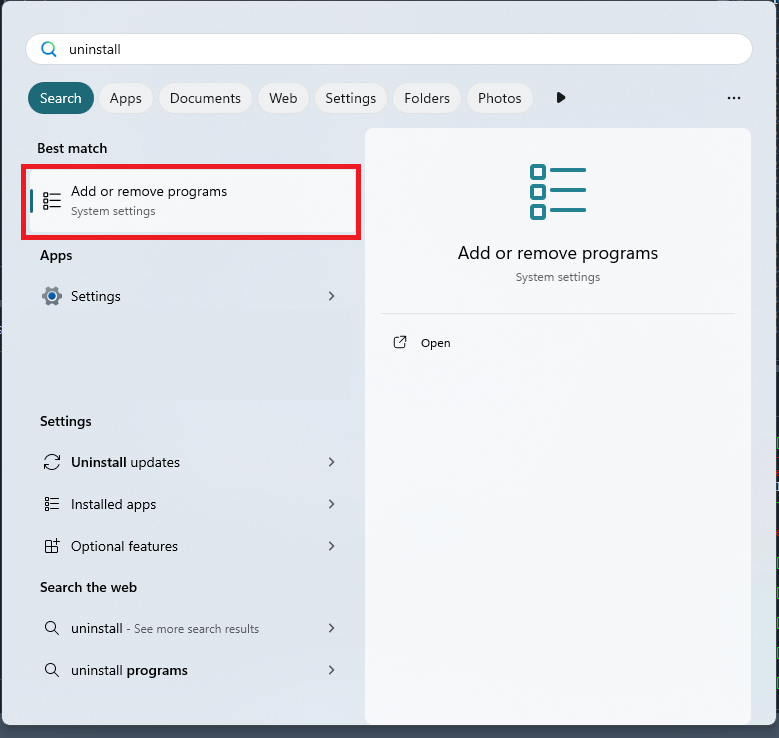
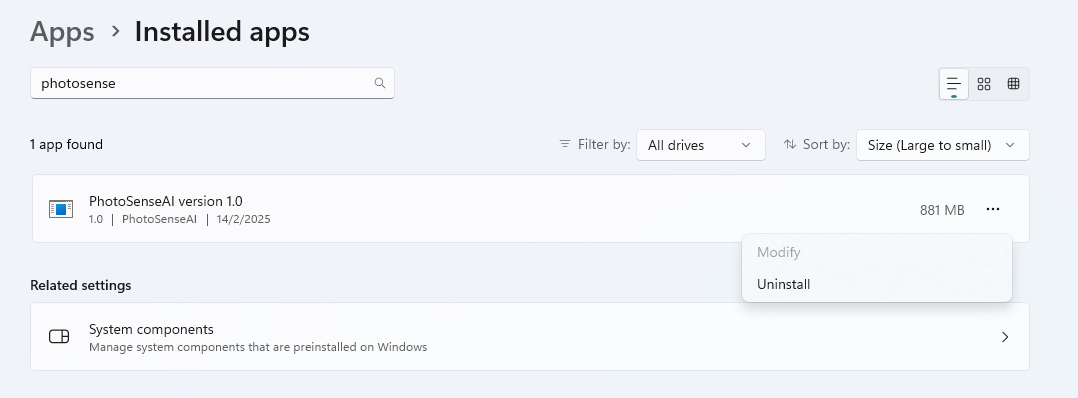
In your Start menu, search for Add or remove programs and open the system settings. Scroll through the list of installed applications or use the search bar to find PhotoSenseAI. Click on it, then select Uninstall and follow the on-screen instructions to complete the removal.
|
|